Megami Tensei II Playthrough — Devil Busters Part Two
While I'm down there, I encounter two Carbuncles. They're a bit too tough for us to beat, with our weapons only dealing 2 or 3 damage against their solid Defence, and they sport the lightning spell Zio that can hit our characters two or even three times for 5 damage apiece.
So I try to recruit the first Carbuncle instead, only for them to leave after getting a healthy sign-up bonus from us. This can happen sometimes, and the Soothe and Persuade commands do make it less likely.
Unlike Defence, which is set by armour or by the specific demon's stat block, defence against magic is basically a composite of Intelligence and elemental resistances. Because of that, magic is going to hurt our characters pretty badly without the right gear. The second Carbuncle demonstrates this nicely by demanding 85 macca five times; when, on the fifth request, I no longer have enough to pay, it immediately blasts the two protagonists within an inch of their life. Ouch.
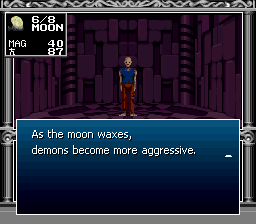
Here's a mechanic the series has retained in every form since this game: moon phases and demon negotiation. In this game, the mechanic is very simple: if it's a full moon, you can't talk to demons, even those in your party. That has less of an impact for us, as EVIL demons won't talk to us anyways!
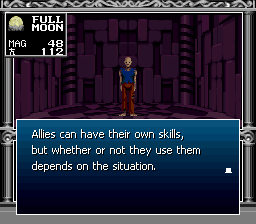
This, though, is representative of one of the least advanced parts of this game. Demons have three slots for one of two capabilities: skills or spells. Spells cost MP and can be selected by the player, or not. Skills, however, are used randomly when the player selects the Attack command for that demon.
As a rule of thumb, skills like Howl that inflict status effects are better than skills like Fire Breath that deal damage and nothing else. This is going to be important for us, because EVIL demons have a lot of skills. They even have several the player can't normally use. Some of them will work for us, while some of them will never trigger.
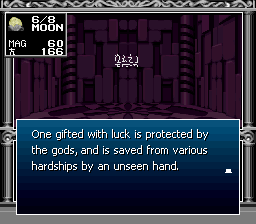
And here's the single miserly hint we get about our capabilities. I'm not convinced that we're saved from hardships, but on the other hand, luck is more useful in this game than in Nocturne, where it affects a very small number of minor things. Here, unlike there, it does in fact influence critical hits, for example.
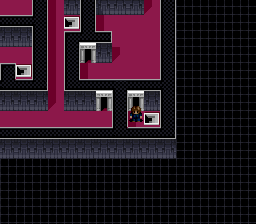
By the way, most of these NPCs are in the dungeon, not the town. That's what all those doors are.
Anyways, this is text I altered as part of the hack. I messed up the spaces, as the comma character in the character table includes a space, I believe. Not that it's a big deal. This is all true.
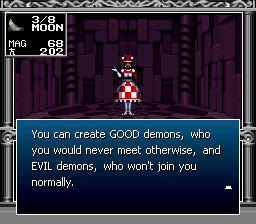
Likewise, here EVIL isn't capitalized (though you could argue that's the original translation's error and not my own). But this is good to note. You get no MAG for defeating NEUTRAL demons, so you're incentivized to fight EVIL demons when you can.
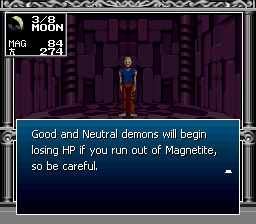
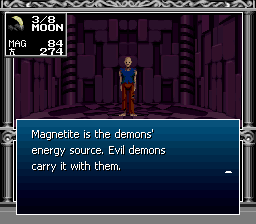
This, though, I think was only strictly true in the original game. I didn't alter all of the text in the game that might be relevant to the hack, just text that implied you can't use EVIL demons. If you run out of MAG, I believe EVIL demons take damage every step too.
The thing is, though, that EVIL demons don't actually cost MAG to summon. We don't really have to worry about managing MAG when our demons are already hoarding caches of it themselves!
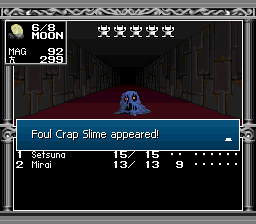
An example of merciless demon nomenclature. Crap Slime here can actually use Poison Gas, so it's not a total non-threat, especially in large groups, but it's not the most dangerous thing we could fight either.
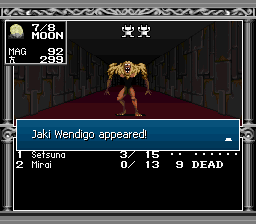
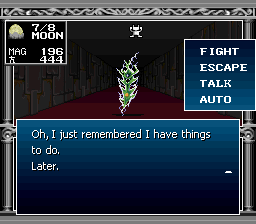
These guys? Are. We're already damaged from one prior encounter with them, and then they appeared again. Wendigo is the most dangerous normal enemy here even in a regular playthrough. With 5 Intelligence on both characters, it's downright fatal. Aside from decent defence backing 17 HP, Wendigo has Bufu, a spell that can hit up to twice and can freeze you, preventing you from taking your action that round if you went second. Both characters take between 12 to 14 damage from one hit of Bufu.
You can imagine how that goes.
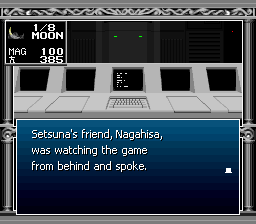
Well, I can just reloooooooh?
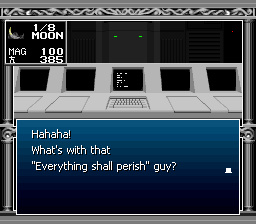
That's right. We are, in fact, playing a game inside a game, so there's no penalty except to save and reload. Well, actually the penalty is losing half of our Macca and having to revive any demons we lost, but none of that really matters here. The only thing we suffer is an injury to our pride as Nagahisa laughs at our misfortune.

We could take a break, but the curse of the tilt spurs us onward, and we resume our gameplay!
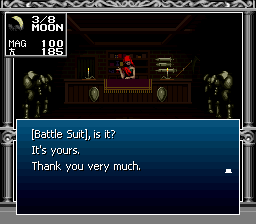
First things first: armour. While it won't protect us from magic at this juncture, any mitigation we can get to preserve our middling HP pools is well worth it, and we have just enough Macca after our defeat to buy a basic Battle Suit. The difference between no armour and any armour is half as much damage, so it's well worth it.
Demonkind is not kind. We grind up some money on the upper floors and descend to try recruiting another Carbuncle. But after paying up, this happens!
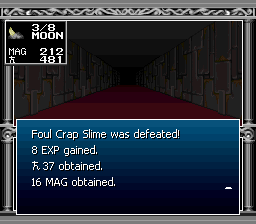
By the way, not every foe is created equal. This is a pittance of EXP for defeating a single Crap Slime, but if we defeat a single Wendigo...

...then we can learn a lot from picking the ice shards out of our faces!
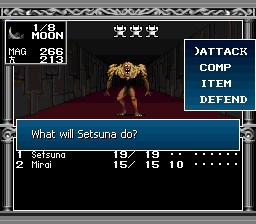
That said, we've learned something just as important: run. When you see this, run. Similar to the WIZARDs in the original Final Fantasy, one is manageable, two is dangerous, and three is lethal. There's no guarantee of escape -- Speed is the primary stat that determines that -- but there IS a guarantee of death if we try to stay and fight this as we are now.
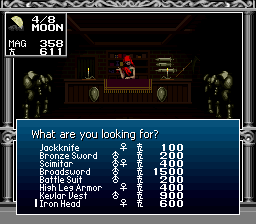
When we're back in town, we assemble a shopping list of sorts. The Broadsword is an incredibly overpowered weapon, and will make the boss very easy, but there are better investments. To be specific, the Scimitar, Battle Suit and Iron Head for Mirai are investments in our future. Anything we equip on Setsuna, we'll never get back. Anything we put on Mirai, though, will help us later.
Now then, it's about time we give the demons a taste of their own medicine. By which I mean other demons.
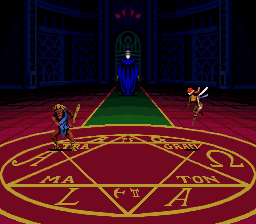
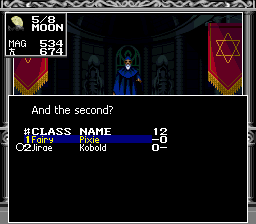
The master of the mansion turns one demon, then the other, into primordial energy. The orbs that appear can be one of four colours, one for each classical element. What colour you get depends on the demon -- and even EVIL demons have colours defined!
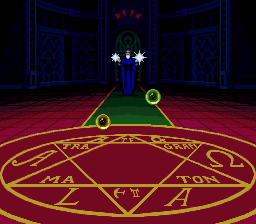
Then, he combines them...
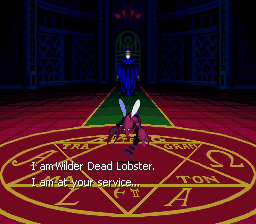
And here we are!
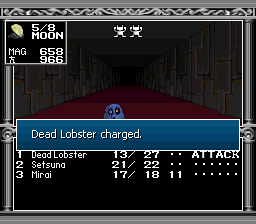
It costs Macca to summon your demons from the COMP, and that applies to EVIL demons too, but the cost is well worth it. Incidentally, whereas humans slash with their swords, every demon has a different attack type -- animals charge, as Dead Lobster so gracefully demonstrates before destroying a Crap Slime.
With our own demon friend, we can explore a bit further. Across the hall from the stairs to the bottom floor, perpendicular to the boss room, we can enter this little area...

"Harken, seekers! The storm's call shall awaken him from the depths of slumber!"
...where we find this mysterious message. What could it mean? Orb of Silence? I guess we'll find out!
To be continued…